Complete Bathroom Waterproofing Guide for Unfilled, Post-Backfilling, and Renovation Scenarios with Flexible and Rigid Materials and Leak Prevention Tips
Waterproofing the bathroom is a critical task in home renovation projects.
However, bathroom waterproofing methods vary depending on the specific situation: unfilled bathrooms, post-backfilling bathrooms, and bathroom renovations in old houses.
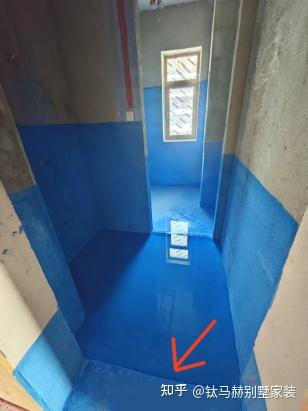
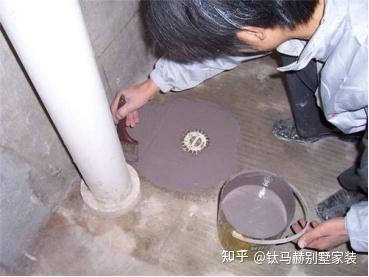
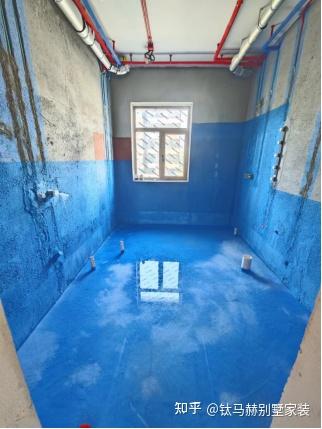
For unfilled bathrooms, waterproofing must be applied before backfilling. The waterproofing materials used can be either rigid or flexible types. Before application, it is essential to apply a leak-sealing compound around drain pipes and to treat wall roots and corners thoroughly.
After waterproofing, conduct a 48-hour water test to ensure effectiveness. Once passed, use ceramic particles for backfilling—avoid construction debris to prevent damage to the waterproofing layer and simplify future repairs.
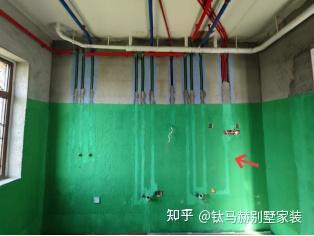
After backfilling, apply another layer of waterproofing during the tiling phase by masons. This means unfilled bathrooms require two rounds of waterproofing. If underfloor heating is installed, use flexible waterproofing on the ground during the mason stage.
For bathrooms with underfloor heating, apply flexible waterproofing before installing the heating system, and again use leak-sealing compound around drain pipes beforehand.
During the mason phase, another round of waterproofing is needed, with the ground requiring flexible waterproofing. If no underfloor heating is present, a single layer of waterproofing suffices, and rigid waterproofing can be used.
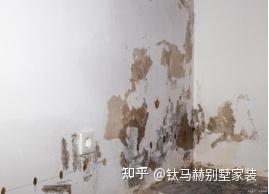
For old house bathroom renovations, the process is unique because removing old tiles often damages the walls. Before waterproofing, the walls must be leveled with cement and sand mortar.
After leveling, the waterproofing process follows the standard steps for bathroom waterproofing.