Guide to Choosing High-Quality Tiles: 8 Essential Testing Methods for Home Renovation and Durability Assessment
When renovating, tiles are almost always used, but do you know how to select high-quality tiles? This guide provides 8 effective methods to evaluate tile quality, helping you avoid substandard products. Start by inspecting the tile surface for defects like pinholes, glaze residues, or dirt. High glossiness indicates better sintering and overall quality; good tiles reflect light like a mirror, while poor ones appear dull.

Check dimensional accuracy by measuring diagonals with a tape measure. Tiles within national standards for length and width errors (e.g., ±0.5% and ±0.3%) ensure better installation results.

Tap the tile lightly; a clear, crisp sound suggests high density and good quality, while a dull sound indicates poor sintering. Perform a drop test: high-quality tiles won’t break when dropped vertically, demonstrating strength.

Heavier tiles generally have higher density and better quality, with uniform thickness and no edge defects. Test load-bearing capacity by standing on a suspended tile; good tiles withstand weight without cracking.


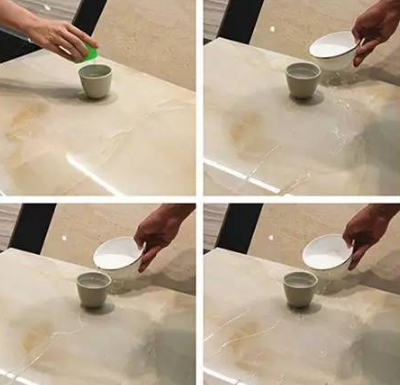
For slip resistance, place a water cup on a slanted tile surface with water; no sliding indicates good anti-slip properties, crucial for areas like bathrooms. Test water absorption by pouring water on the tile; low absorption (under 0.5% for porcelain tiles) means better stability and resistance to cracking.

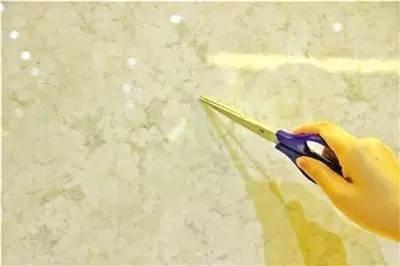
Use diluted ink on the tile back; minimal absorption signifies quality. Finally, assess corrosion and wear resistance by scratching with a pen or scissors and wiping clean; no marks indicate durability against chemicals and abrasion.